The following images highlight the installation of a fish finder aboard a fishing boat. It is advisable to read the unit’s installation instructions carefully prior to beginning the work. A good marine sealer such as 3M 5200 should be applied to all screws that enter the hull.
![]()
The surface of the hull was scraped flat, the old screw holes were sealed and the new bracket is now installed.

The speed/temp sensor went on near the outward edge of the trim tab.
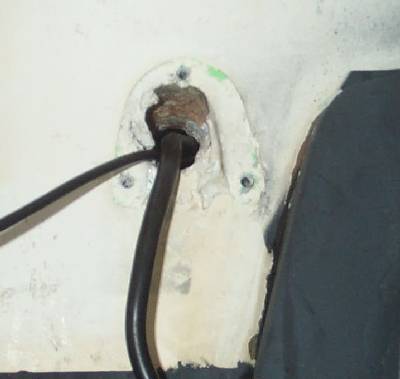
The wires pass thru a 1″ hole in the transom near the stern drive.
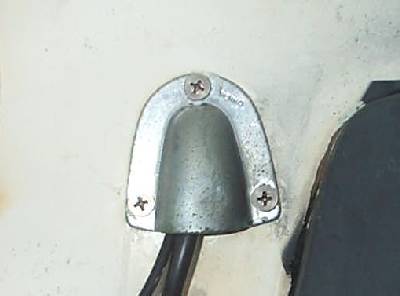
The hole gets a shot of caulk to prevent water entry and a cover to protect the wires.
The wires need to be routed and secured under the gunwale up to the fish finder mounting location.
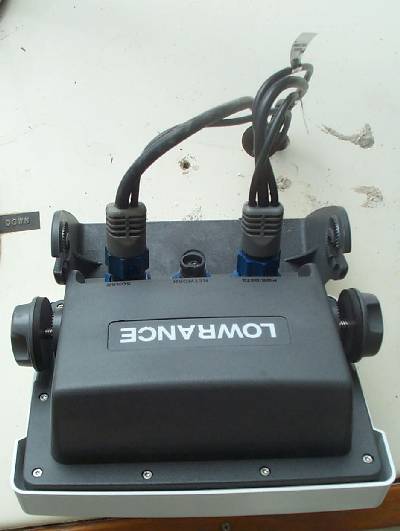
The old fish finder had smaller connectors.
The new Lowrance uses a large “DIN” connector which needs a 1″ hole to pass thru the dash.
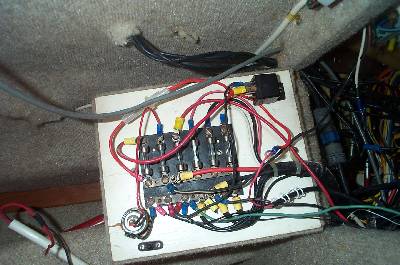
The fish finder wires can be seen coming thru the liner above the fuse panel. Another 1″ hole had to be drilled thru the bulkhead.
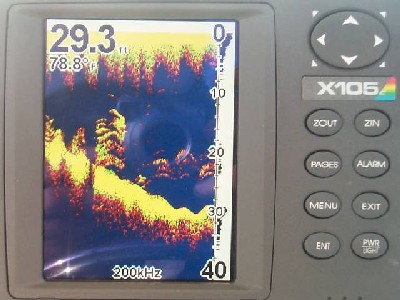
The finished unit in action.