This is a tutorial on rigging rear hooked ballyhoo using a special leader clamp.
Step 1. Remove the eyes and squeeze all the contents of the intestines out.
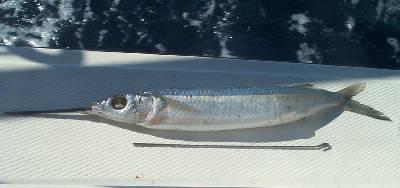
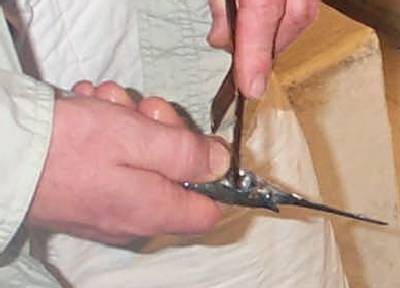
Step 2. Crack the spine gently and rinse the fish off. Select a rigging needle.
Step 3. Work the needle in the vent and towards the mouth.
Thrust it back and forth several times to make a clear passage.
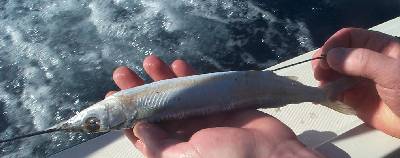
The needle should exit at the pouch under the fishes chin.
The area is roughly under the fish’s tongue.
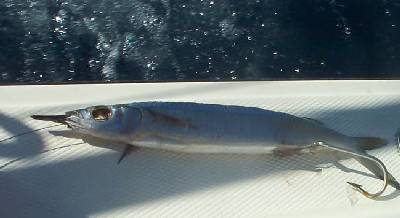
Step 4. Pull the leader thru the fish with the needle. the hook placement is critical.
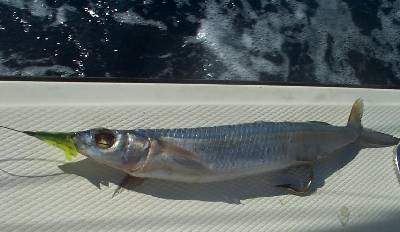
Step 5. Position the hood on the fish and snap it down.
Allow 1/8-1/4″ extra on the leader length
as the hood will shorten the leader slightly when the lock is snapped.
Make sure the hook is not offset to either side before locking.
Cut a small slit in front of the vent so that the hook is not in a bind.
 .
.
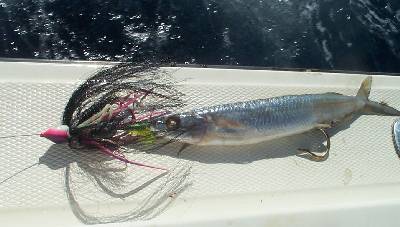
Step 6. Add your favorite skirt and form a loop on the tag end with a haywire twist and barrel rolls.
Remove the pectoral fins to insure that the fish swims straight.
Notes:
A special plastic clamp is used in this tutorial. There are several variations of this rig, all of which use some method to secure the bait at the front. An alternative is to crimp a small piece of monel or copper wire on the leader. As with all ballyhoo rigs, the bait must be secured at the front and the hook must not pull on the body or inhibit the bait’s action when trolled. Depending on the application, anglers may use mono or wire with this rig. Although difficult and time consuming to rig, rear hook rigs are sometimes necessary when bite offs are occurring. When wahoo are present, wire leaders may be a viable option.